


In an unpredictable world, personal security and asset protection are paramount. For many military personnel, security professionals, high-profile individuals, and even civilian fleet managers operating in volatile regions, an armored vehicle isn’t a luxury—it’s a necessity. But what exactly goes into transforming a standard vehicle into a mobile fortress? The vehicle armoring process is a meticulous, highly specialized endeavor demanding precision engineering, advanced materials, and expert craftsmanship. This guide will walk you through the essential steps, offering a clear understanding of how vehicles are fortified to provide life-saving protection.

Step 1: Initial Consultation and Threat Assessment
Before any tools are picked up, the vehicle armoring process begins with a thorough consultation. This crucial first step involves:
- Understanding Client Needs: A detailed discussion with the client (be it an individual, corporation, or government agency) to understand their specific security concerns, operational environment, and typical usage patterns for the vehicle.
- Threat Level Analysis: Identifying the potential threats the vehicle and its occupants might face. This ranges from small arms fire (handguns, rifles) to more potent threats like armor-piercing rounds or even IEDs (Improvised Explosive Devices) in high-risk zones.
- Determining Protection Level: Based on the threat assessment, an appropriate ballistic protection level is determined. Common standards include:
- EN 1063/EN 1522-1523 (European Standards): Levels like B4 (protects against handguns like .44 Magnum), B6 (protects against high-power rifles like 7.62x51mm NATO), and B7.
- VPAM (German Standard): Levels like VR7 and VR9, often considered more stringent.
- NIJ (US National Institute of Justice): Levels like III and IV for body armor, which are sometimes referenced for vehicle armor components.
- EN 1063/EN 1522-1523 (European Standards): Levels like B4 (protects against handguns like .44 Magnum), B6 (protects against high-power rifles like 7.62x51mm NATO), and B7.
- Scope Definition: Clarifying any additional security features required, such as communication systems, fire suppression, or emergency escape hatches.
This initial assessment dictates the choice of materials, the extent of modifications, and ultimately, the effectiveness of the armored vehicle.
Step 2: Vehicle Selection and Base Preparation
Not all vehicles are suitable candidates for armoring. The selection of the base vehicle is critical:
- Platform Suitability: SUVs and robust sedans are popular choices due to their sturdy chassis and capacity to handle the significant weight added during the vehicle armoring process. Trucks and specialized tactical vehicles are also common for higher-threat environments.
- Key Considerations:
- Payload Capacity: The vehicle must be able to safely carry the added weight of armor (often 500 kg to 1500 kg or more) without compromising performance or safety.
- Chassis Strength: A strong frame is essential to support the armor and maintain structural integrity.
- Engine Power: Sufficient horsepower and torque are needed to ensure adequate mobility once armored.
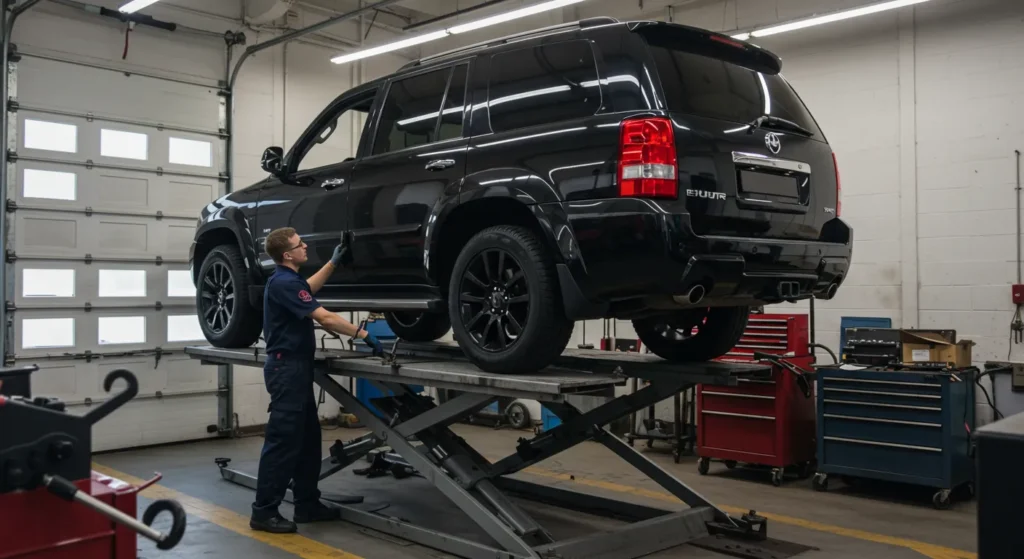
- Initial Vehicle Inspection: The chosen vehicle undergoes a thorough inspection to ensure it’s in optimal mechanical condition. Any pre-existing issues are addressed before armoring begins. The vehicle is documented meticulously.
Step 3: Meticulous Disassembly
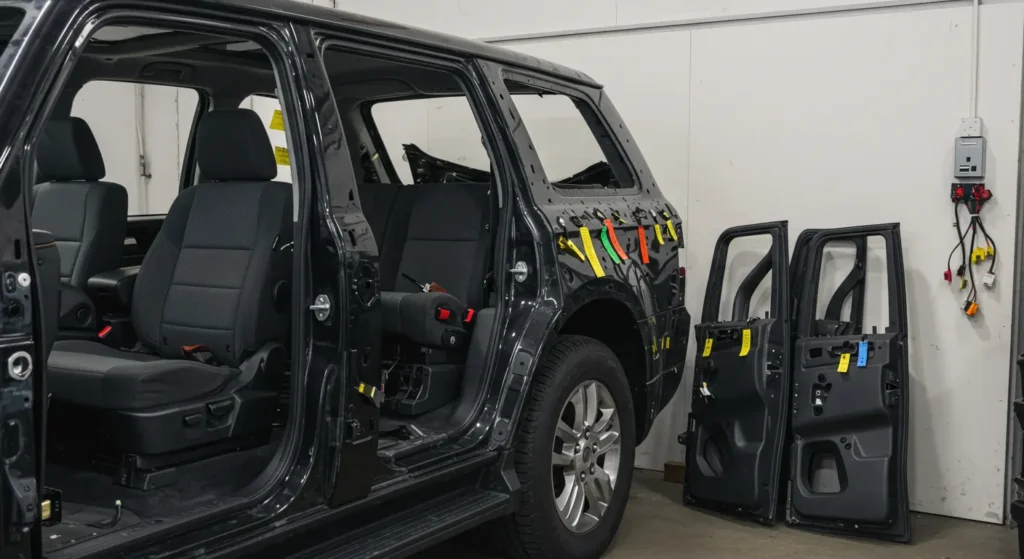
Once the base vehicle is prepared, it’s time for disassembly. This isn’t a simple stripping down; it’s a careful, methodical process:
- Interior Removal: Seats, carpets, headliners, door panels, dashboard components, and interior trim are carefully removed.
- Exterior Components: Depending on the armoring plan, some exterior elements like bumpers or grilles might also be removed.
- Systematic Labeling: Every part, wire, and connector is meticulously labeled and cataloged to ensure accurate reassembly. This precision is vital to maintain the vehicle’s original functionality and aesthetics as much as possible.
This stage exposes the vehicle’s underlying structure, allowing engineers and technicians to plan and execute the integration of ballistic materials.
Step 4: Ballistic Material Integration – The Core of Protection
This is where the vehicle truly begins its transformation. The integration of ballistic materials is the heart of the vehicle armoring process.
Opaque Armor (Body Protection)
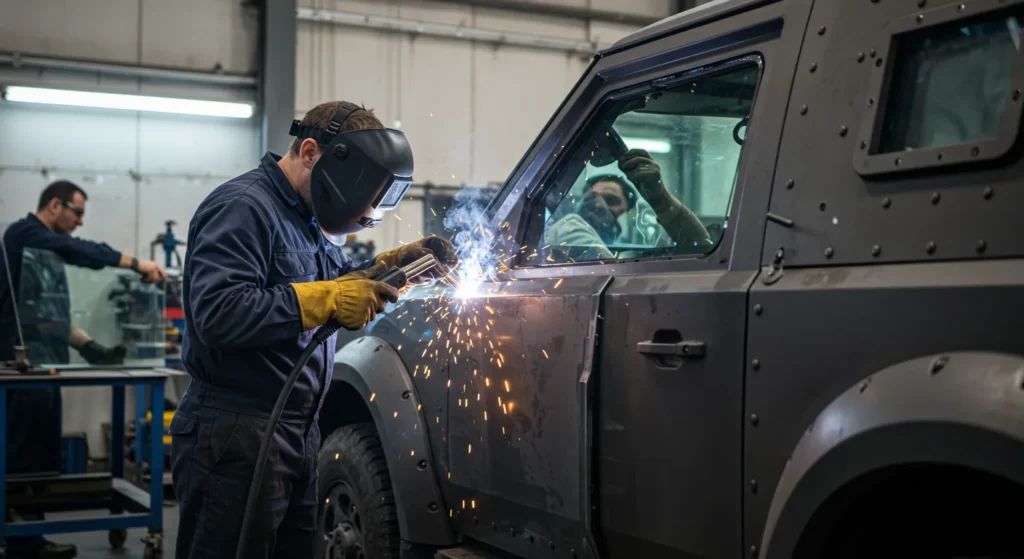
- Ballistic Steel: High-hardness, heat-treated ballistic steel is commonly used for its strength and relative cost-effectiveness. It’s cut using CNC plasma or laser cutters to precise shapes and then welded into place, forming a protective cocoon around the passenger cabin. Key areas include doors, pillars, roof, floor, and firewall.
- Composite Materials: Advanced composites like Aramid fibers (e.g., Kevlar®), Ultra-High Molecular Weight Polyethylene (UHMWPE, e.g., Dyneema®), or ceramic-composite panels are increasingly used.
- Pros: Significantly lighter than steel for a similar protection level, offering better vehicle performance and fuel efficiency.
- Cons: Generally more expensive and can be bulkier.
- These are often molded or cut to shape and bonded or bolted into place.
- Overlap Systems: All potential gaps around doors and window frames are sealed with overlapping armor pieces to prevent projectile penetration through weak points.
Transparent Armor (Ballistic Glass)
- Multi-Layer Construction: “Bulletproof glass” is not actually a single sheet of glass. It’s a sophisticated laminate of multiple layers of glass and polycarbonate, bonded together under high heat and pressure.
- Thickness and Composition: The thickness (typically 20mm to over 70mm) and composition vary based on the required protection level.
- Anti-Spall Layer: The innermost layer is usually a polycarbonate sheet designed to prevent spalling—the ejection of glass fragments into the cabin upon impact, which can cause serious injury even if the projectile doesn’t penetrate.
- Custom Fabrication: Each window is custom-fabricated to fit the vehicle’s specific apertures and curvature, ensuring a seamless and secure fit.
Step 5: Reinforcing Key Structural Components
The added weight of armor places significant stress on the vehicle’s original structure and components. Reinforcement is non-negotiable:
- Pillar Reinforcement: The A, B, and C pillars of the vehicle are internally reinforced with steel to support the weight of the armored roof and ballistic glass, and to maintain structural integrity during a crash or attack.
- Door Hinge Upgrades: Standard door hinges are replaced with heavy-duty, custom-fabricated hinges capable of supporting the massively increased weight of armored doors.
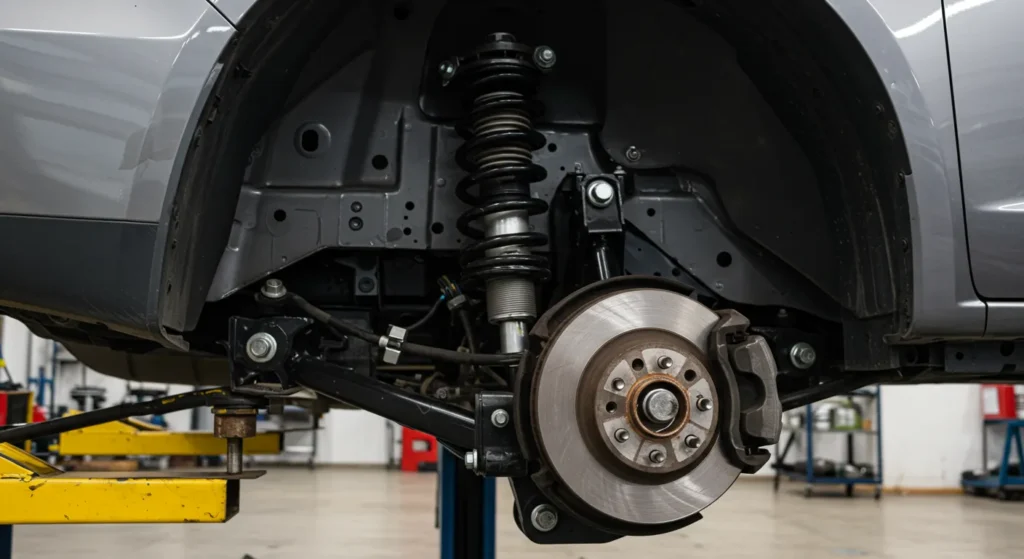
- Suspension System Overhaul: Springs, shock absorbers, and sometimes control arms are replaced with heavy-duty components designed to manage the added weight, maintain ride height, and ensure acceptable handling characteristics.
- Brake System Enhancement: Upgraded brake pads, rotors, calipers, and sometimes brake lines are installed to ensure the vehicle can stop safely and effectively despite its increased mass.
Step 6: Protecting Critical Vehicle Systems
An armored vehicle isn’t just about protecting occupants; it’s also about maintaining mobility and functionality under duress.
- Engine Bay Protection: The battery, ECU (Engine Control Unit), and sometimes the radiator are protected with armored casings or plates.
- Fuel Tank Protection: The fuel tank is often wrapped in ballistic blankets or encased in an armored steel or composite box to prevent rupture and fire. Self-sealing fuel tanks are also an option.
- Underbody Protection: For threats like grenades or small IEDs, the vehicle floor is armored, often with specialized blast-mitigation materials.
Step 7: Run-Flat Tire Installation
Maintaining mobility is crucial for escaping dangerous situations.
- Run-Flat Inserts: Heavy-duty polymer or composite rings are installed inside the tires. If a tire is punctured or deflated, these inserts allow the vehicle to continue driving for a significant distance (e.g., 50 km) at a reduced speed (e.g., 50-80 km/h).
- Tire Pressure Monitoring System (TPMS): Often integrated or enhanced to alert the driver to tire damage.
Step 8: Reassembly and Interior Finishing
With all protective measures in place, the vehicle is painstakingly reassembled.
- Interior Reinstallation: All the original interior components—dashboard, seats, carpets, headliner, door panels—are carefully reinstalled. The goal is to make the vehicle’s interior appear as close to OEM (Original Equipment Manufacturer) specifications as possible, offering discreet protection.
- Functionality Checks: All electronic systems, climate control, power windows (often only front windows are operable, and to a limited extent), and other features are tested to ensure they function correctly.
- Fit and Finish: Great attention is paid to the fit and finish, ensuring no rattles, squeaks, or visible signs of the armoring that could compromise discretion.
Step 9: Rigorous Testing and Certification
A professionally executed vehicle armoring process concludes with comprehensive testing and, where applicable, certification.
- Quality Control Checks: Throughout the armoring process, multiple quality control inspections are performed.
- Ballistic Testing (Materials/Samples): Reputable armoring companies test their materials and assembly methods against certified international standards (e.g., NIJ, CEN, VPAM) using independent laboratories. This often involves firing projectiles at sample armor panels and glass.
- Road Testing: The completed vehicle undergoes extensive road testing to assess its handling, braking, acceleration, and overall drivability with the added weight. Adjustments are made as necessary.
- Certification Documentation: The vehicle is provided with documentation detailing the protection level and materials used. Some companies offer full vehicle certification by independent bodies.
Step 10: Final Inspection and Client Delivery
The final step involves a meticulous last look before the vehicle is handed over.
- Comprehensive Review: A final, detailed inspection of every aspect of the vehicle – exterior, interior, mechanical, and all armoring components.
- Client Walkthrough: The client is given a thorough explanation of the vehicle’s armored features, operational considerations (e.g., door weight, window operation), and maintenance requirements.
- Documentation and Support: All relevant paperwork, including warranty information and service recommendations, is provided. After-sales support is crucial for ongoing maintenance and peace of mind.
Conclusion: The Value of a Meticulous Vehicle Armoring Process
The vehicle armoring process is far more complex than simply welding steel plates to a car. It’s a sophisticated engineering discipline that blends advanced materials science with automotive expertise. Each step, from the initial threat assessment to the final road test, is critical to ensuring the vehicle provides reliable protection without unduly compromising its performance or discretion.Choosing a reputable armoring company that adheres to stringent international standards and demonstrates a transparent, thorough process is vital. Ultimately, a professionally armored vehicle offers invaluable peace of mind, providing a crucial layer of security for those who face elevated risks in their daily lives or professional duties. When safety is on the line, the integrity of the vehicle armoring process makes all the difference.